DIY Attic Insulation Made Easy
We know. Insulating your attic probably comes somewhere below cleaning gutters or washing windows on the list of things you’d like to do. But the good news is, it’s a lot easier than you think when you use Greenfiber blow-in cellulose. And it can save you a boatload of money over the years.

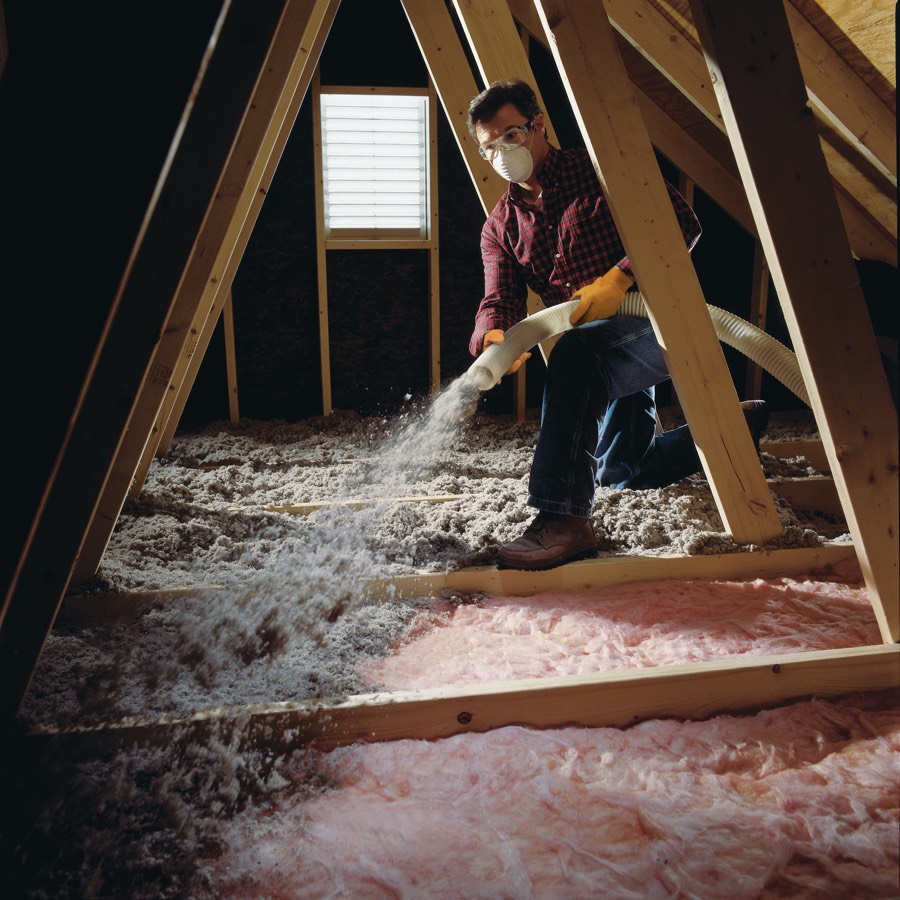
There’s no cutting. No fitting. No hauling itchy, bulky fiberglass rolls up into your attic. Instead, you’ll use a portable blower machine that you’ll probably rent or borrow from the same place you get your bags of Greenfiber. With one person pouring Greenfiber into the machine and another person blowing the insulation into place, two people can get the job done in less than a day.
You can blow Greenfiber on top of old insulation to bring your home’s energy efficiency to where it ought to be. Or you can blow it into spaces that have never been insulated, like new construction. Greenfiber’s also great for filling hard-to-reach gaps and voids where air can leak into or out of your attic and where other insulation is a real pain to put in place.
Here’s how easy it is:
• Decide which Greenfiber formula is best for your home, depending on your climate and the quantity you’ll need.
• Then follow the step-by-step instructions in our DIY attic installation guide including:
- how to figure out how much Greenfiber you’ll need
- all the tools you’ll want on hand
- foolproof preparation that will make everything go smoothly
- how to blow Greenfiber into place and finish the job
We’ve covered everything except how you’re going to kick back when you’re done because we’re pretty sure you won’t need our help with that.
- Category: Installation
